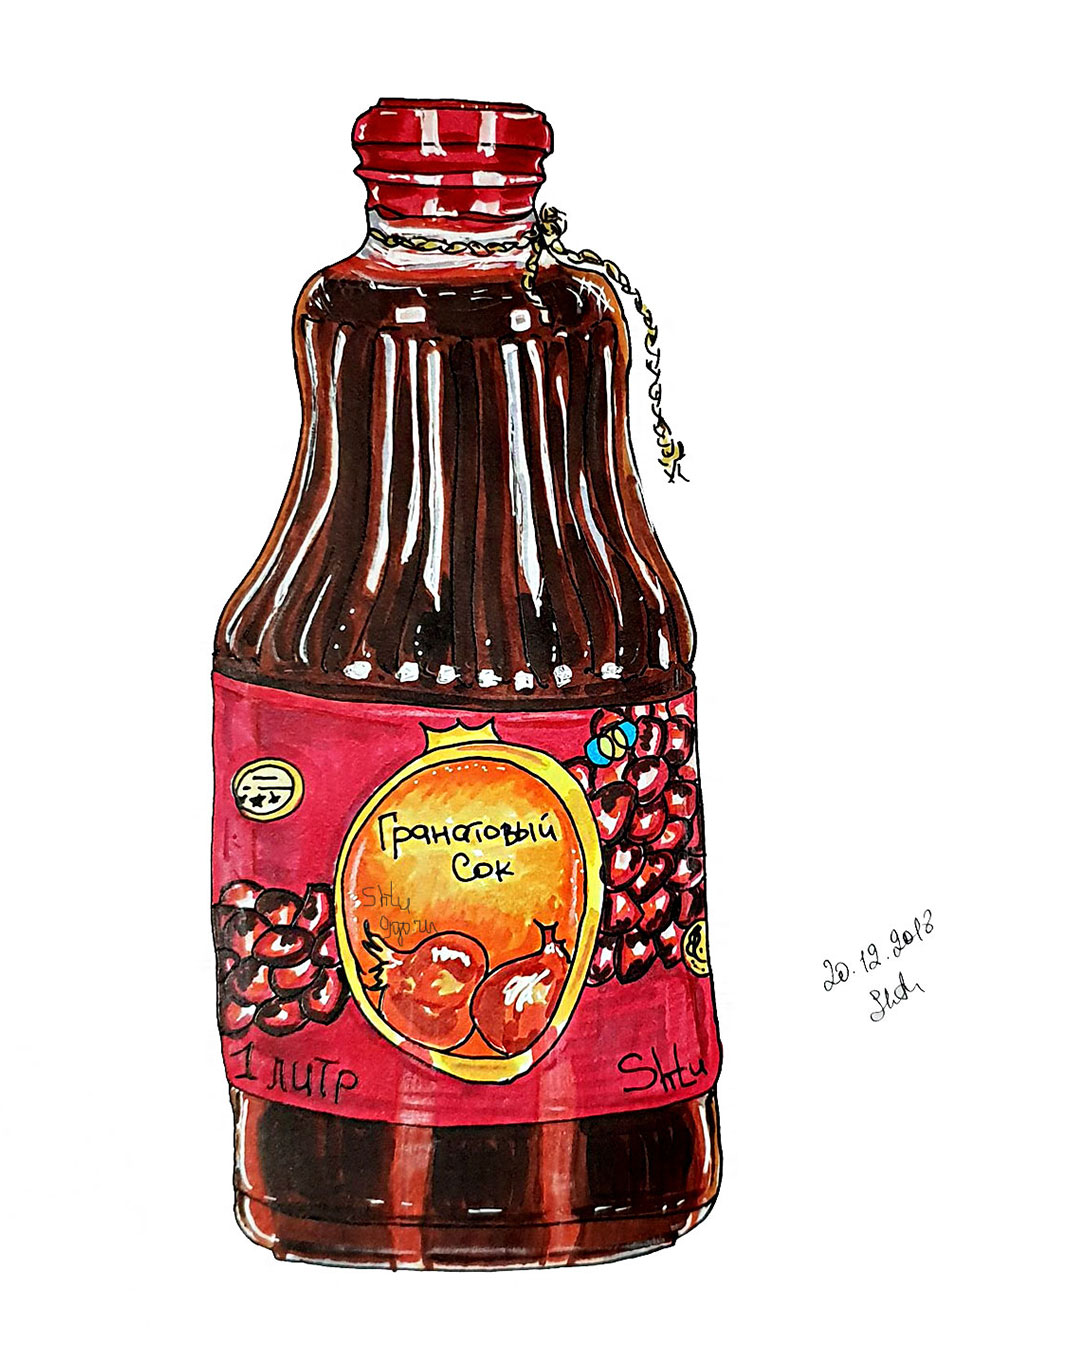
Bottle – Pomegranate Juice
Today I painted glass for the first time in my life, and it seems to me. that I did well. I will tell you in detail how exactly I drew this glass jar and why I managed to draw a glass object the first time. I drew a sketch using the rotring 0.5 isograph, and the color was overlaid with Copic Sketch markers + highlights using the white Gelly Roll 08 Sakura pen. I used Canson Marker specialty marker paper. Let’s see what is the secret of the image of glass objects.
So that you, too, the first time you can draw glass, you need to prepare a little, learn how to draw simple objects – balls, cylinders, cones and more. So all artists study, first draw cubes, balls and pyramids, and then something more complicated. But do not despair, you can complete the entire necessary course of a novice artist in a couple of hours, just open any first drawing tutorial (there are a lot of them on the Internet), and do the first exercises to draw simple forms. This will give you the opportunity to easily apply light and shadow to large forms of the bottle (roughly speaking, everything is slightly darker at the edges than in the center, etc.).
And now we move on to drawing glass. The peculiarity of glass objects is that they reflect and transmit light, surrounding objects and light sources are reflected in them, as well as the inside of the glass object itself is also reflected in itself, spitting due to the transparency of the glass inside it causes some distortion of space and liquids. You can argue for a long time on the topic of high matters, but the easiest way to do this is to take a can, a glass or a bottle, take a photo, upload it to Photoshop and make the picture black and white and very contrasting (you can do this using the filter on your phone).
Such a contrasting black and white image will clearly highlight areas of light and shadow, you will clearly see what dark and light areas your object consists of. It was so easy for me to see highlights, light and dark lines and shapes, which ultimately give your drawings a sense of realism. In the image of the glass, a large number of obvious flares of regular shapes are used – squares, polygons, straight and curving lines. The glare should be very light, almost white, against a background of glass, which can be represented in different shades of gray (if the glass is transparent) or in contrasting brown / green colors. There are highlights inside the glass objects and around the edges, even if the glass object is dark or full.
Glass objects should reflect surrounding objects, walls, a table, cups, a window – everything that can be nearby. Glare on the glass can take on any shade depending on the environment, there may be blue glare (if the sky reflects in the glass), green (grass is reflected) and so on. In drawing glass objects, I would generally focus primarily on the image of the glare parts, it was from them that I began to design this bottle. Remember that glare can be in the most unexpected places of your object, these glare are quite difficult to predict, especially if the object is complex in shape. It’s best to clearly transfer what you see onto paper.
Write how you managed to draw the glass.
See you soon!